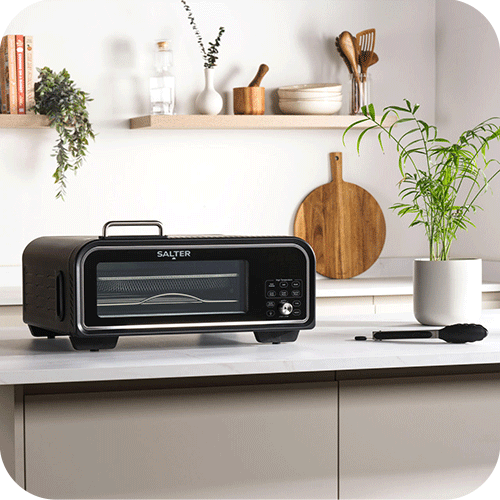
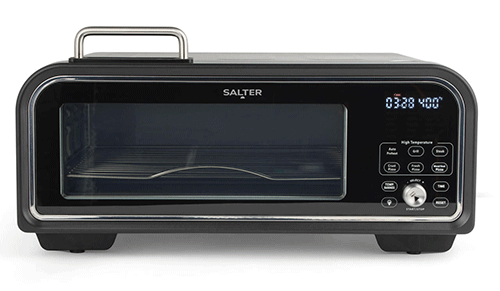
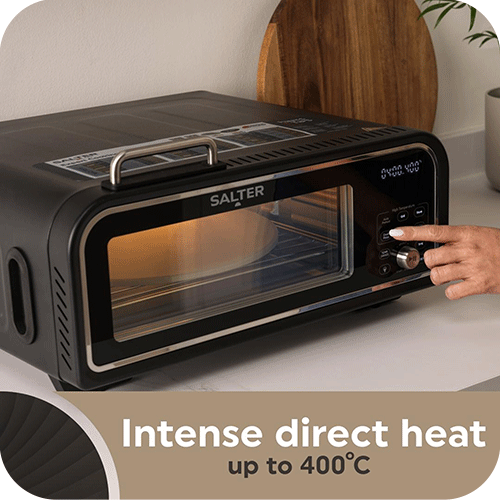
Mastering the Salter Rapid Cook 400 - A Guide to Presets, Grilling, and More!
Posted by Team Salter on 3rd Jul 2024
Mastering Your Salter Rapid Cook 400 Oven: A Guide to Presets, Grilling, and More!
Are you ready to unlock the full potential of your multifunction oven? This countertop powerhouse offers a variety of settings to simplify your cooking adventures. From perfectly crispy fries to juicy grilled steaks, our guide will walk you through everything you need to know!
Find out more about this amazing air fryer here
Preset Functions: Effortless Everyday Cooking
The pre-set functions take the guesswork out of everyday meals. Our video demonstrates how to use the "Fries" setting for golden, delicious results. Simply add your fries to the air fryer basket, select the "Fries" function, and adjust the time and temperature to your preference. The oven will beep halfway through cooking, reminding you to shake the basket for even crisping.
Cooking chips or fries with the Rapid Cook 400
- Plug in the oven, the unit will flash and a beep will sound to indicate it is on.
- Insert the crumb tray below the bottom heating element and slot the air fryer basket into the cooking slots.
- Add the chips into the basket and close the door.
- Turn the control dial to cycle through the preset functions to select Fries.
- Press the time button and turn the control dial to set the time to 20 minutes.
- Press the temp/darkness button and turn the ‘control dial’ to set the temperature at 200°C.
- Once settings have been set, press the ‘control dial to start cooking.
- For the best results shake the chips at the midway point, the timer will pause when the door is opened.
- Once cooking is complete, the unit will beep several times, indicating that the time has elapsed.
Please note: During cooking, the time and temperature can be adjusted at any time by tapping the respective button and turning the control dial.
To cancel the current setting press the Reset button.
High-Temperature Functions: Searing Success
Take your grilling game to the next level with the high-temperature functions. The cast iron plate is your key to achieving restaurant-quality sears. Our video showcases the "Grill" function for lamb chops. Remember to use heat-protective gloves when handling the hot plate!
This function is for grilling meats at high heats. The cast iron plate must be used for this function. The temperature for this setting is fixed at 380°C. The time can be adjusted using the time button and control dial.
How to cook Lamb Chops (in just 4 minutes!)
- Plug in the oven, the unit will flash and beep indicating it is on.
- Insert the crumb tray below the bottom heating element and slot the oven rack into the cooking slots.
- Place the cast iron plate on top of the rack.
- Press the grill button to select the grilling option. Turn the ‘control dial’ to set the time to 4 minutes. The temperature is set and cannot be changed for this function.
- Press the control dial. The ‘auto preheat’ will illuminate and the preheat time displayed, once the preheat time has elapsed using heat protective gloves open the unit and place the lamb chops on the cast iron plate and close the unit door. The timer will start automatically. For the best results flip the lamb chops at the midway point.
- The unit will beep several times indicating the time has elapsed. Carefully remove the lamb chops using the tongs.
Steak Perfection Made Easy
Gone are the days of overcooked or underdone steaks! The "Steak" setting takes the guesswork out of achieving the perfect doneness. The video walks you through the process, highlighting the importance of using the cast iron plate and allowing your steaks to come to room temperature before cooking. Don't forget to consult the included recipe booklet for specific steak cooking times based on thickness.
This function is for grilling steaks and the cast iron plate must be used for this function. The temperature for this setting is fixed at 410°C but the time can be adjusted using the time button and control dial.
The oven has preset times when cooking steak approx. 2 cm thick. Please refer to our steak cooking chart in the Recipe Booklet to see our guidelines.
Please note: these times may vary based on fat content, thickness, and initial temperature. For the best results always allow steaks to come up to room temperature before cooking.
How to Cook a 1.25cm thick Sirloin steak to Medium.
- Plug in the oven, the unit will flash and beep indicating it is on.
- Insert the crumb tray below the bottom heating element and slot the oven rack into the cooking slots and place the cast iron plate on top of the rack.
- Press the steak button to select the steak option, this will flash to indicate it has been selected. Turn the control dial to set the time to 3:00 minutes the display will show “50”. The temperature is set and cannot be changed for this function.
- Press the control dial to confirm the setting.
- The display will flash the preheat time. Once the preheat time has elapsed, carefully open the oven and place the steak in the centre of the cast iron plate using the tongs provided. Close the door to presume cooking. The timer will start automatically.
- The unit will beep after 90 seconds indicating that the steak needs to be turned over.
- Once flipped over safely, close the door to resume cooking.
- The unit will beep several times indicating that the time has elapsed. Carefully remove the steak using the tongs.
Note: For the best results: leave the steak to rest for at least 10 minutes before eating.
Fresh Pizza in Minutes
Who needs takeaway when you can whip up restaurant-quality pizza at home? The "Fresh Pizza" function ensures a perfectly crisp crust every time. The video demonstrates how to use the pizza stone to achieve an even bake. Remember to use the pizza paddle provided for safe handling.
This function is for freshly made pizzas only. Use either the pizza stone or the flat side of the cast iron plate for this function. The pizza stone will give a more original pizza taste, whilst the cast iron plate will add a slightly charred taste, reminiscent of an authentic wood fired pizza. The temperature for this setting is programmed at 400°C, the time can be adjusted using the time button and control dial. Please refer to our pizza cooking chart in the Recipe Booklet to see our guidelines.
How to cook a freshly made pizza (in just 3 minutes!)
- Plug in the oven, the unit will flash and beep indicating it is on.
- Insert the crumb tray below the bottom heating element and slot the oven rack into the cooking slots.
- Place either the pizza stone or flat side of the cast iron plate on top of the rack.
- Press the ‘wood fire pizza button’ to select the pizza option. Turn the control dial to set the time to 3 minutes. The temperature is set and cannot be changed for this function.
- Press the ‘control dial’. The unit will display the preheat time.
- Once the preheat time has elapsed, open the oven and carefully place the pizza onto the pizza stone or flat side of the cast iron plate using the pizza paddle provided.
- Once the door is closed the cooking will start automatically.
- The unit will beep several times indicating the time has elapsed.
- Carefully remove the pizza using the pizza paddle.
Note: For best results ensure that pizza thickness is less than 1cm and all ingredients are at room temperature. To prevent the fresh pizza getting stuck on the pizza paddle ensure that the paddle is well floured.
Caution: The cast iron plate and pizza stone will remain hot for a while after cooking. Allow it to cool slowly before attempting cleaning.
Keeping Your Oven in Top Shape
Proper care and maintenance are essential for a long-lasting oven. Our video offers easy-to-follow instructions for cleaning all the removable parts, including the crumb tray, air fryer basket, oven rack, pizza paddle, and cast iron plate. Remember to never immerse the cast iron plate or pizza stone in water!
Cleaning your Rapid Cook 400 step by step
- Before attempting any cleaning or maintenance, switch off and unplug the unit from the mains power supply and allow it to fully cool.
- Wipe the main unit with a soft, damp cloth and dry thoroughly.
- Clean the crumb tray, oven rack, air fryer basket, pizza paddle, cast iron plate and tongues in warm, soapy water, then rinse and dry thoroughly. DO NOT soak the cast iron plate.
- DO NOT wash the stone plate or immerse in water, simply wipe with a lightly damp cloth.

Storage Solutions for a Tidy Kitchen
The video demonstrates the clever storage solutions built into your oven. You can clip the power cord into designated clips at the back of the unit, and the carry handles make it easy to transport when needed.
With this guide and the helpful video, you're well on your way to becoming a multifunction oven master!


