Ultimate Guide to Using the Salter DuoWave 26L Microwave Air Fryer
Posted by Team Salter on 3rd Jul 2024
Ultimate Guide to Using the Salter DuoWave 26L Microwave Air Fryer
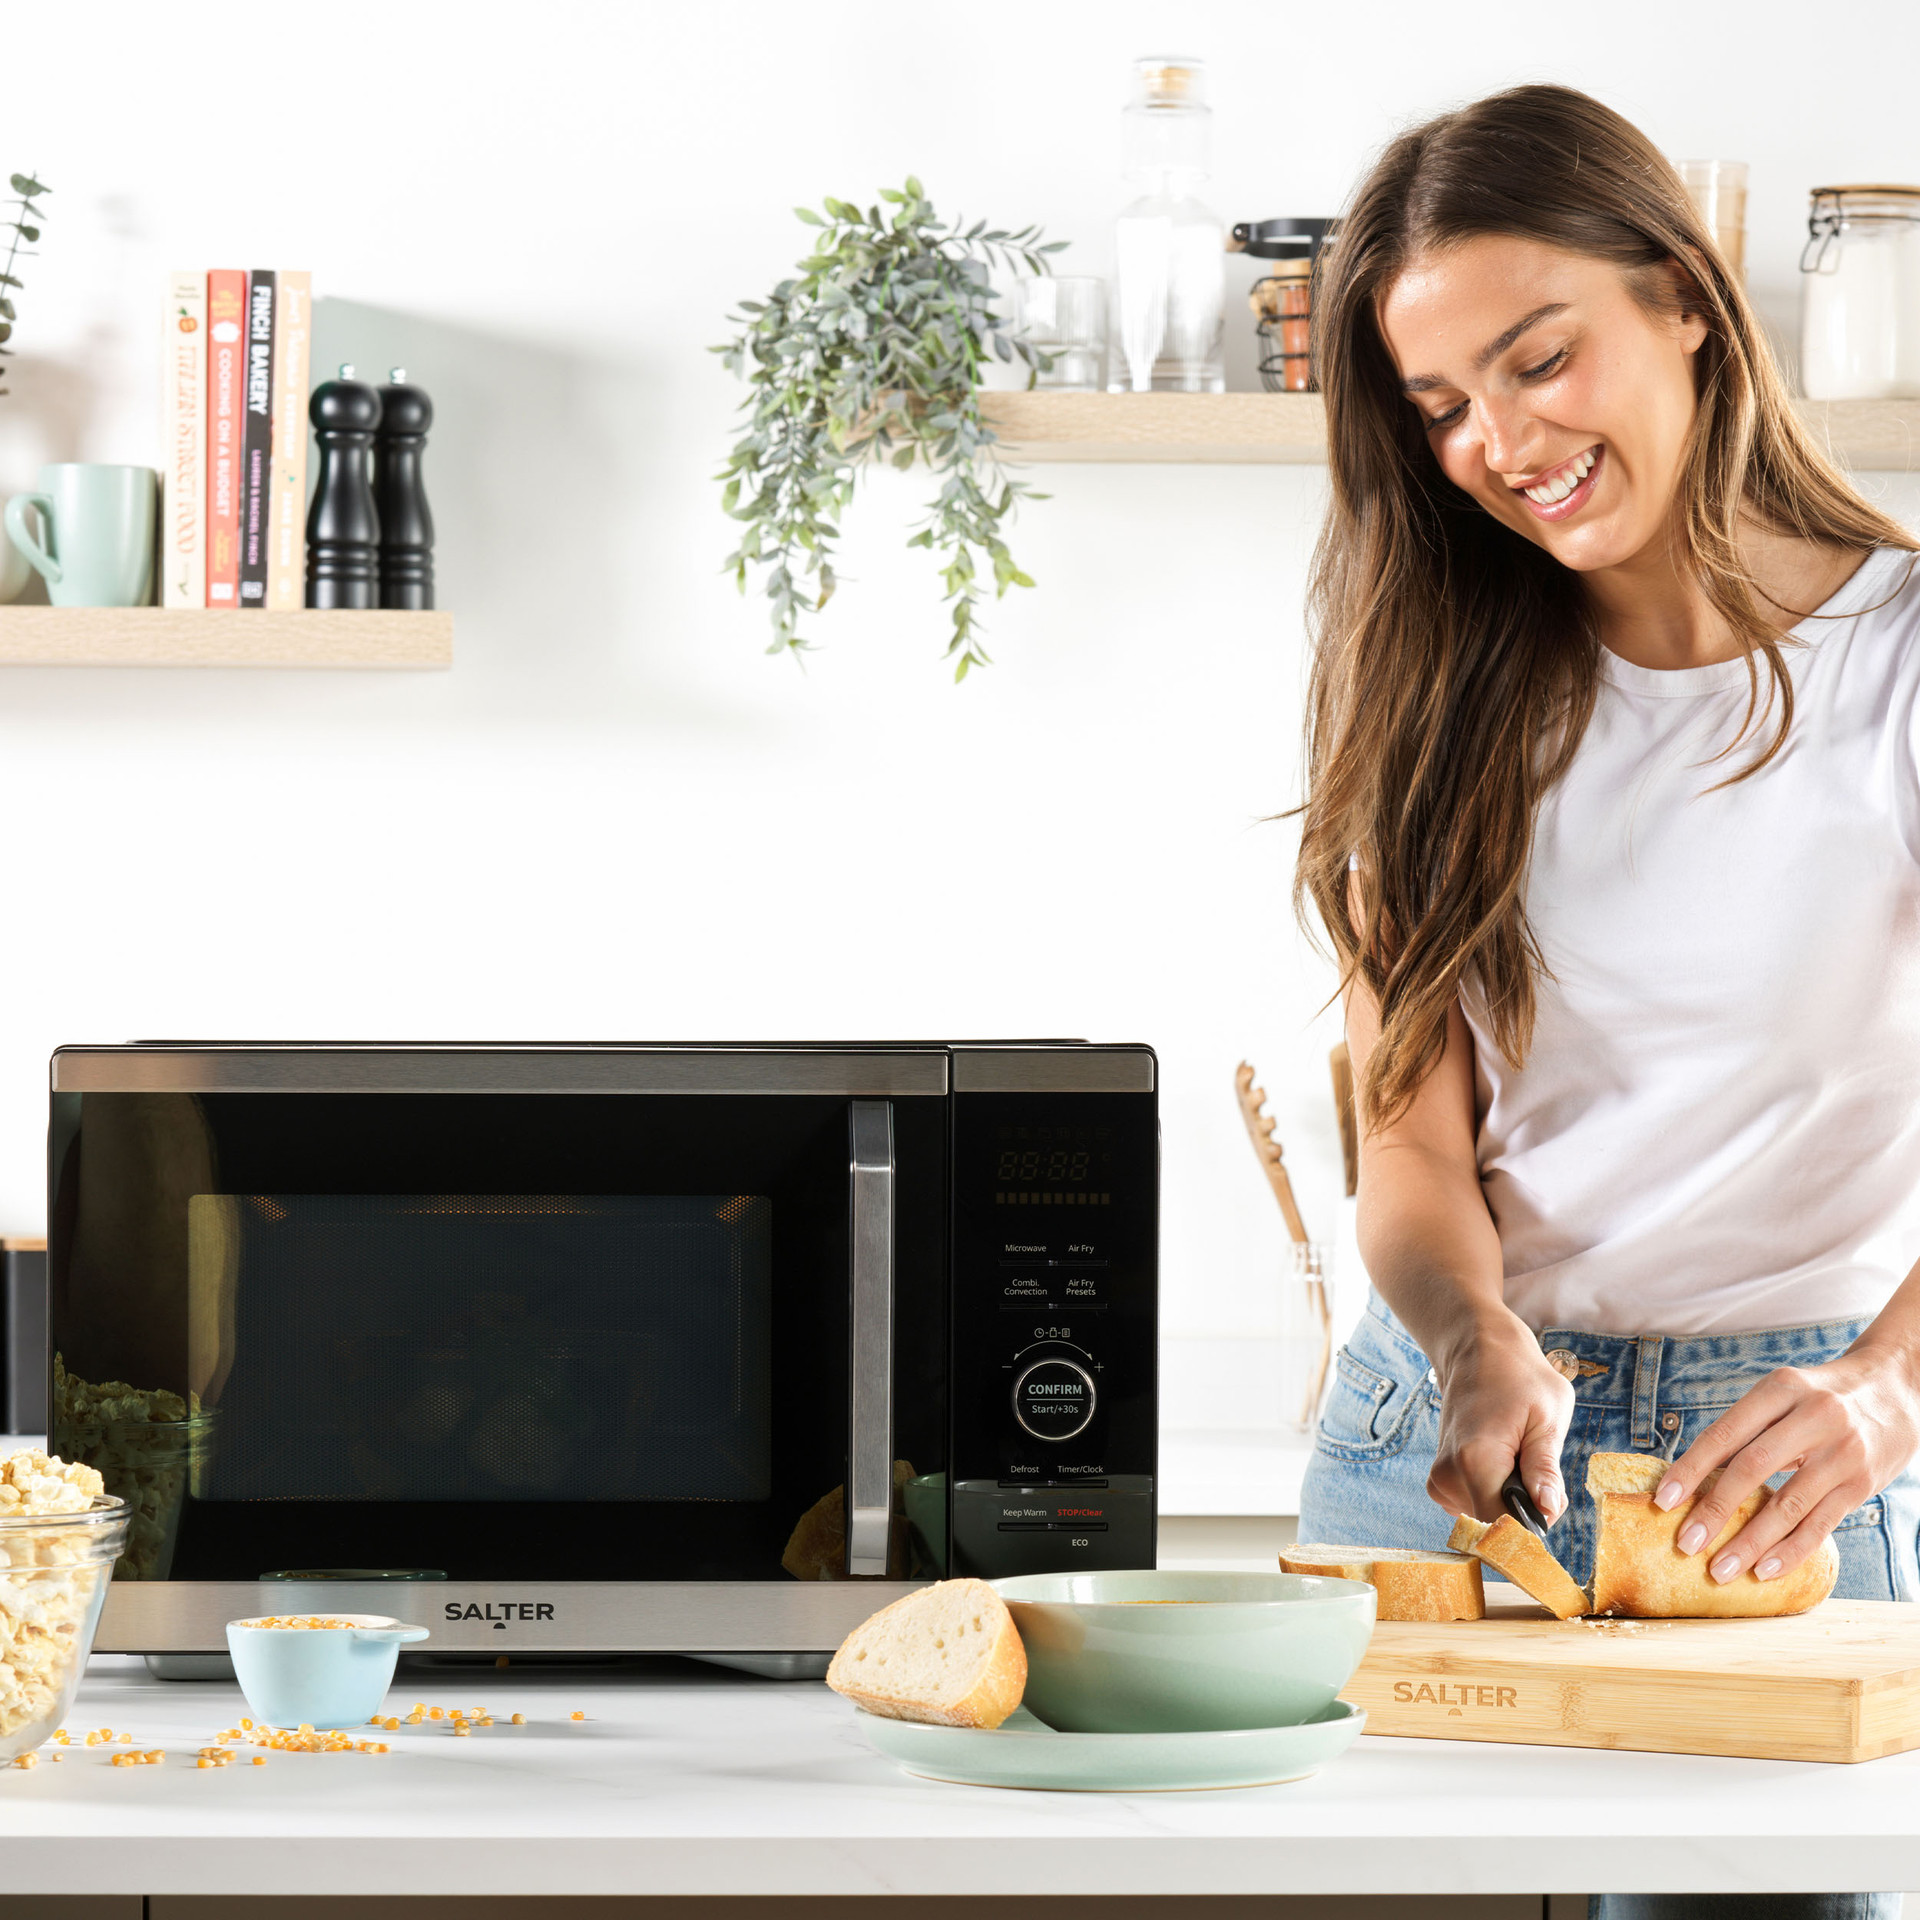
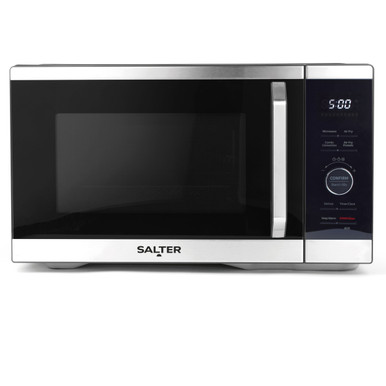
Welcome to your go-to guide for mastering the Salter DuoWave 26L Microwave Air Fryer! Whether you're a seasoned home cook or a kitchen novice, this guide will help you unlock the full potential of your appliance. With its versatile features, the Salter DuoWave is designed to simplify your cooking process and elevate your culinary creations.
(find out more about the Salter Duowave here)
Getting Started with the Salter DuoWave 26L
You can either read this blog post or follow along with our handy video guide
Step-by-Step Air Frying Instructions
- Press ‘Air Fry’: The LED display will show ‘140 ºC’.
- Set Temperature: Use the 'CONFIRM/Start/+30s' control dial to choose from 10 temperature options, ranging from 140-230 ºC.
- Confirm Temperature: Press ‘CONFIRM/Start/+30s’ to confirm your selected temperature.
- Preheat: Press ‘CONFIRM/Start/+30s’ again to start preheating.
- Add Food: After preheating, place your food in the microwave air fryer and close the door. The current temperature will be displayed on the LED screen.
- Set Cooking Time: Turn the 'CONFIRM/Start/+30s' dial to set your cooking time, with a maximum limit of 95 minutes.
- Start Cooking: Press ‘CONFIRM/Start/+30s’ to begin cooking.

Using Preset Air Fryer Functions
- Select Preset: Choose ‘Air Fryer Presets’ and adjust using the control dial.
- Confirm and Cook: Press ‘CONFIRM/Start/+30s’ to start cooking.
Tips for Optimal Air Frying
- Adjust Tray Position: Modify the tray shelf position for varying cooking outcomes to achieve perfect crispiness or tenderness.
Microwave Cooking Simplified

Easy Steps to Microwave Cooking
- Select ‘Microwave’: The LED display will show ‘P100’.
- Adjust Power Level: Use the control dial to adjust the microwave power level. Each number corresponds to the percentage power of the microwave.
- Set Time: Adjust the cooking time using the 'CONFIRM/Start/+30s' control dial.
- Start Cooking: Press ‘CONFIRM/Start/+30s’ to start cooking.
Important Note
- No Metal Accessories: Avoid using any metal accessories when this function is selected.
Multi-Stage Cooking for Complex Meals
Example: Defrost and Cook
- Defrost: Press ‘Defrost’ twice. The LED display will show ‘dEF2’.
- Set Defrost Time: Turn the ‘CONFIRM/Start/+30s’ control dial to set the defrost time to 5 minutes.
- Set Microwave: Press ‘Microwave’. The LED screen will display ‘P100’.
- Adjust Power Level: Turn the 'CONFIRM/Start/+30s' control dial to select 'P80' power level and confirm.
- Set Cooking Time: Set the cooking time to 7 minutes using the 'CONFIRM/Start/+30s' control dial.
- Start Cooking: Press ‘CONFIRM/Start/+30s’ to begin.
Important Note
- No Metal Accessories: Always use appropriate oven-proof glass or ceramic dishes.
Combination Cooking for Versatility
Simple Steps for Combination Cooking
- Select ‘Combi. Convection’: The LED display will show ‘C-1’.
- Set Time: Use the 'CONFIRM/Start/+30s' control dial to set the cooking time, with a maximum of 95 minutes.
- Start Cooking: Press ‘CONFIRM/Start/+30s’ to start.
Important Note
- No Metal Accessories: Use oven-proof glass or ceramic dishes only.

Auto Menus for Hassle-Free Cooking
Using Auto Menus
- Choose Function: In standby mode, turn the 'CONFIRM/Start/+30s' control dial clockwise. The LED display will show ‘A01’. Select from the 10 preset cooking functions.
- Confirm Selection: Press ‘CONFIRM/Start/+30s’.
- Set Weight: Turn the control dial to set the weight of the food.
- Start Cooking: Press ‘CONFIRM/Start/+30s’ to begin.
Refer to the Full Instruction Manual
- Cooking Charts: Check the auto menu cooking chart for detailed presets, times, and weights.
Care and Maintenance Tips
Keeping Your Appliance in Top Condition
- Unplug and Cool: Always switch off and unplug the microwave air fryer from the mains power supply. Let it cool completely before cleaning.
- Wipe Exterior: Use a soft, damp cloth to clean the exterior and dry thoroughly.
- Clean Door and Control Panel: Wipe the door, window, seals, and control panel to remove spills.
- Clean Interior: Wipe interior surfaces, including the waveguide cover, with a soft, damp cloth to remove grease.
Important Note
- Avoid Harsh Cleaners: Do not use abrasive cleaning detergents or scourers as they can damage the appliance.
- Regular Cleaning: Clean the microwave air fryer and its accessories after each use to remove food deposits.
Conclusion
The Salter DuoWave 26L Microwave Air Fryer is not just a kitchen appliance; it's a game-changer for your cooking routine. Combining the functionalities of an air fryer and a microwave, this versatile appliance brings a host of benefits that make it an essential addition to any modern kitchen.
With these detailed instructions, you're ready to make the most out of your Salter DuoWave 26L Microwave Air Fryer. From perfectly air-fried snacks to multi-stage gourmet meals, this versatile appliance has you covered.
The Salter DuoWave 26L Microwave Air Fryer is a versatile, time-saving, and health-conscious appliance that brings numerous benefits to your kitchen. Its combination of air frying and microwaving capabilities, along with its ease of use and maintenance, make it an invaluable tool for anyone looking to streamline their cooking process and enjoy a variety of delicious, healthy meals. Embrace the convenience and efficiency of this innovative appliance and transform the way you cook. Happy cooking!


