
Baking 101/ Tips for Brilliant Bread
Posted by Team Salter on 19th Jun 2024
Baking 101: Tips for Brilliant Bread
Bread week is always the most frightening on Bake Off as it is Paul’s speciality. However it’s not as hard as you may think.
If you’ve never baked bread before, don’t worry. All you need to do is take your time and be patient. Once you’ve enjoyed your first freshly baked loaf you won’t regret it, so read on for our tips.
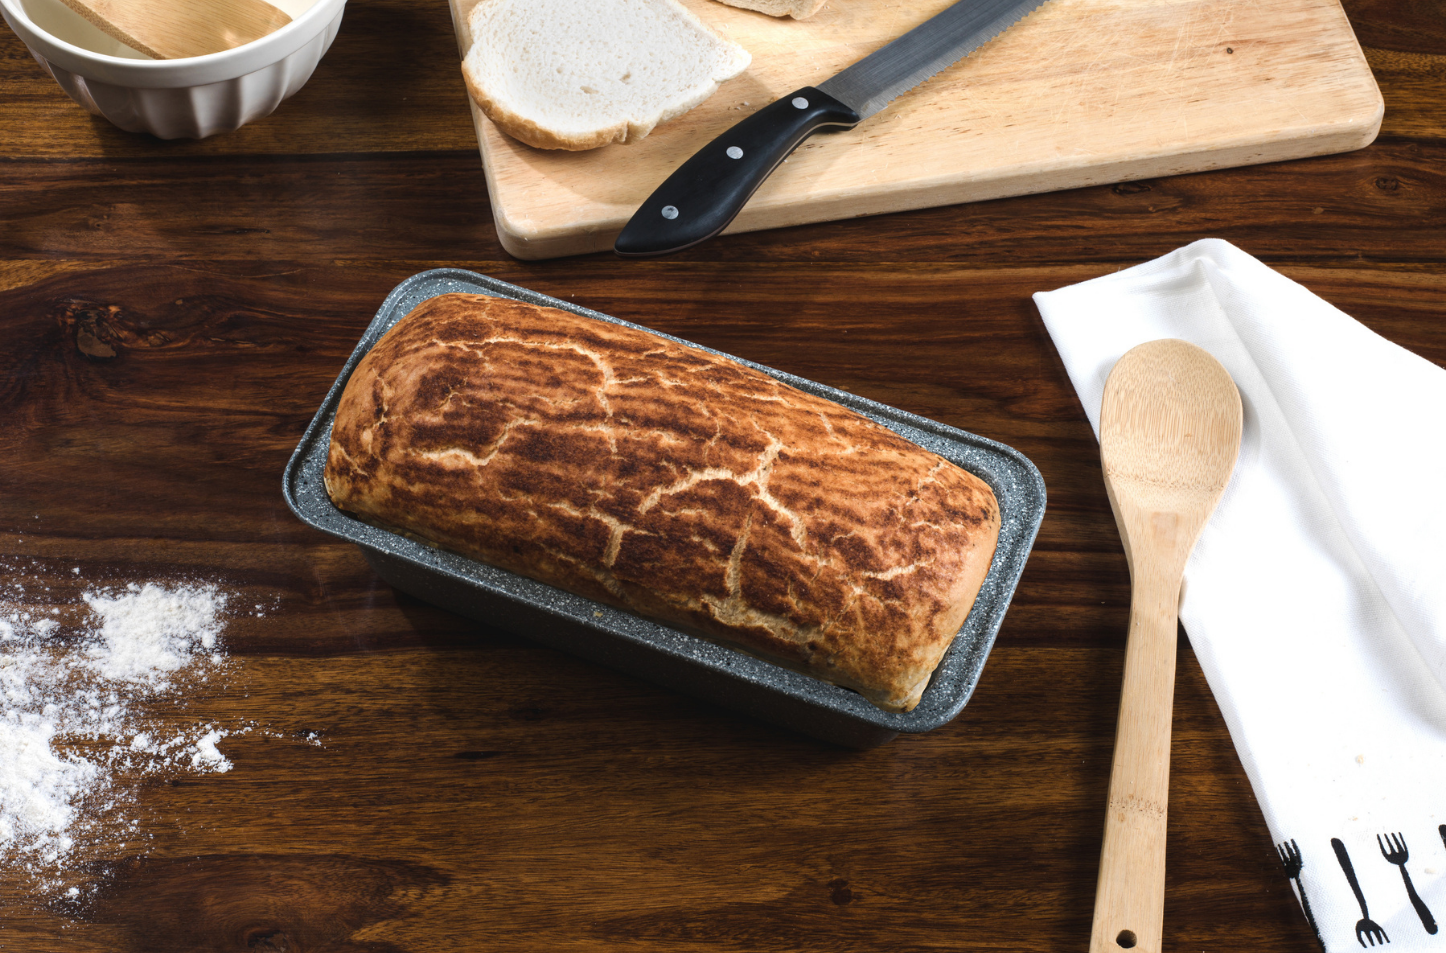
Start with the Basics
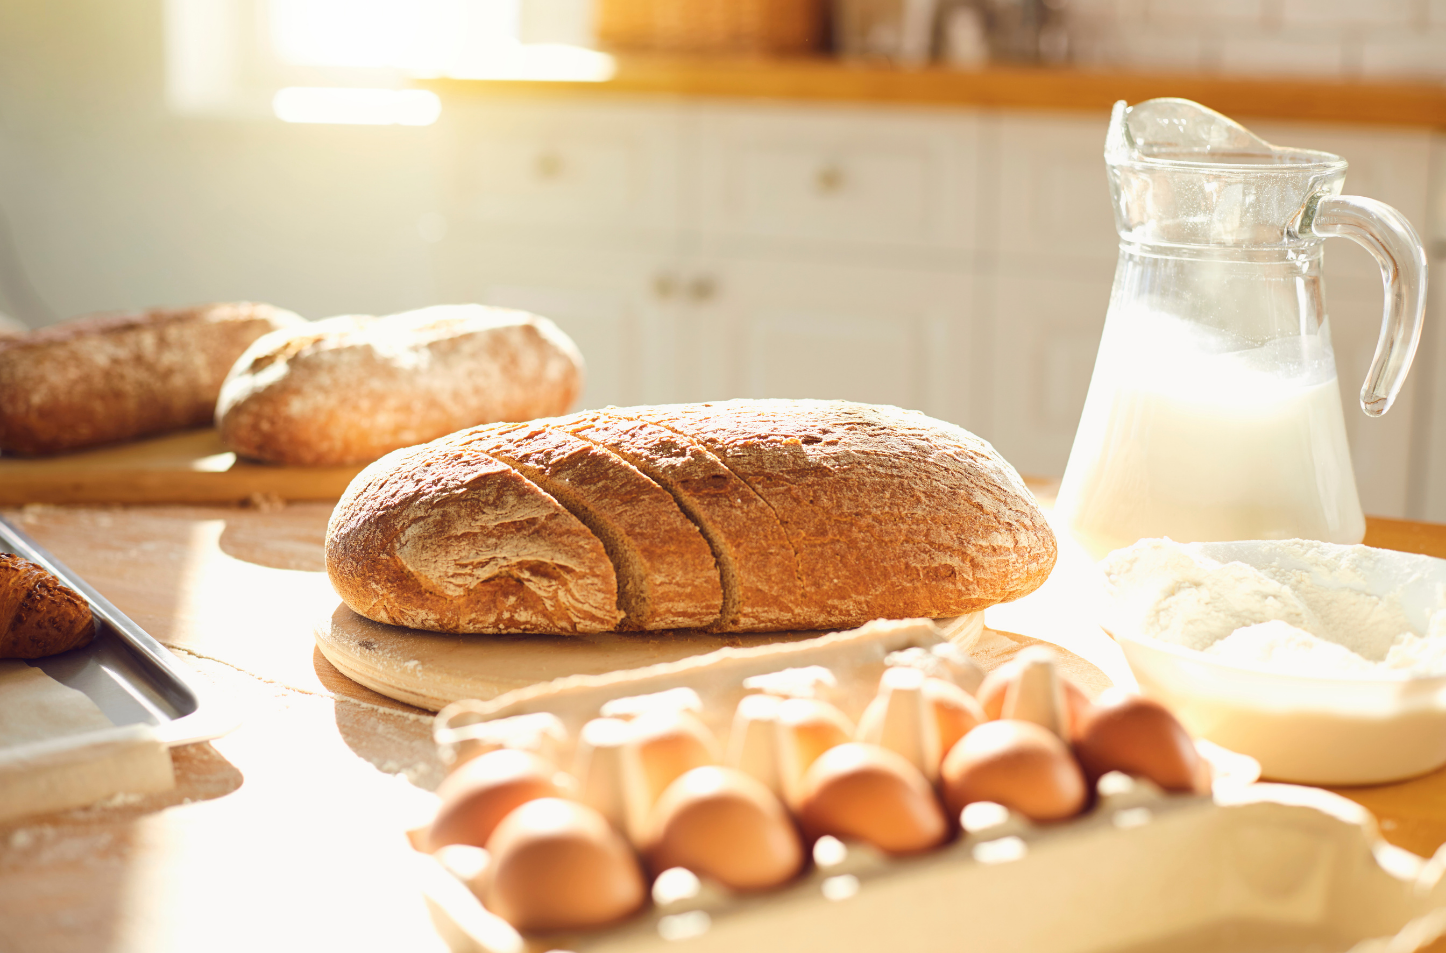
You may be inspired by seeing loaves filled with fruit or inspiring toppings, but it is best to start with a basic loaf. Baking bread is about the touch, feel and smell.
Luckily a simple loaf only takes four ingredients; flour, water, salt and yeast. To master bread, you only need to conquer a handful of basic recipes you can adapt later.
Use the Correct Yeast
There are three main varieties of yeast; fresh, fast-acting dried (sometimes referred to as easy-bake) and active dried. Most home-baking recipes will call for fast-acting as it’s the easiest to use. Make sure to look carefully when shopping for ingredients, as each type works differently. Most supermarkets sell yeast in sachets that are perfect for a loaf.
Store Your Yeast Properly
Yeast has an expiry date, so when you retrieve it from the back of the cupboard, be sure to check this as old yeast won’t work as well, and you won’t get as much of a rise. Dried yeast should keep for a few months in the cupboard. On the other hand, fresh yeast needs to be stored in the fridge and will only last two weeks, or you can freeze it for up to three months. 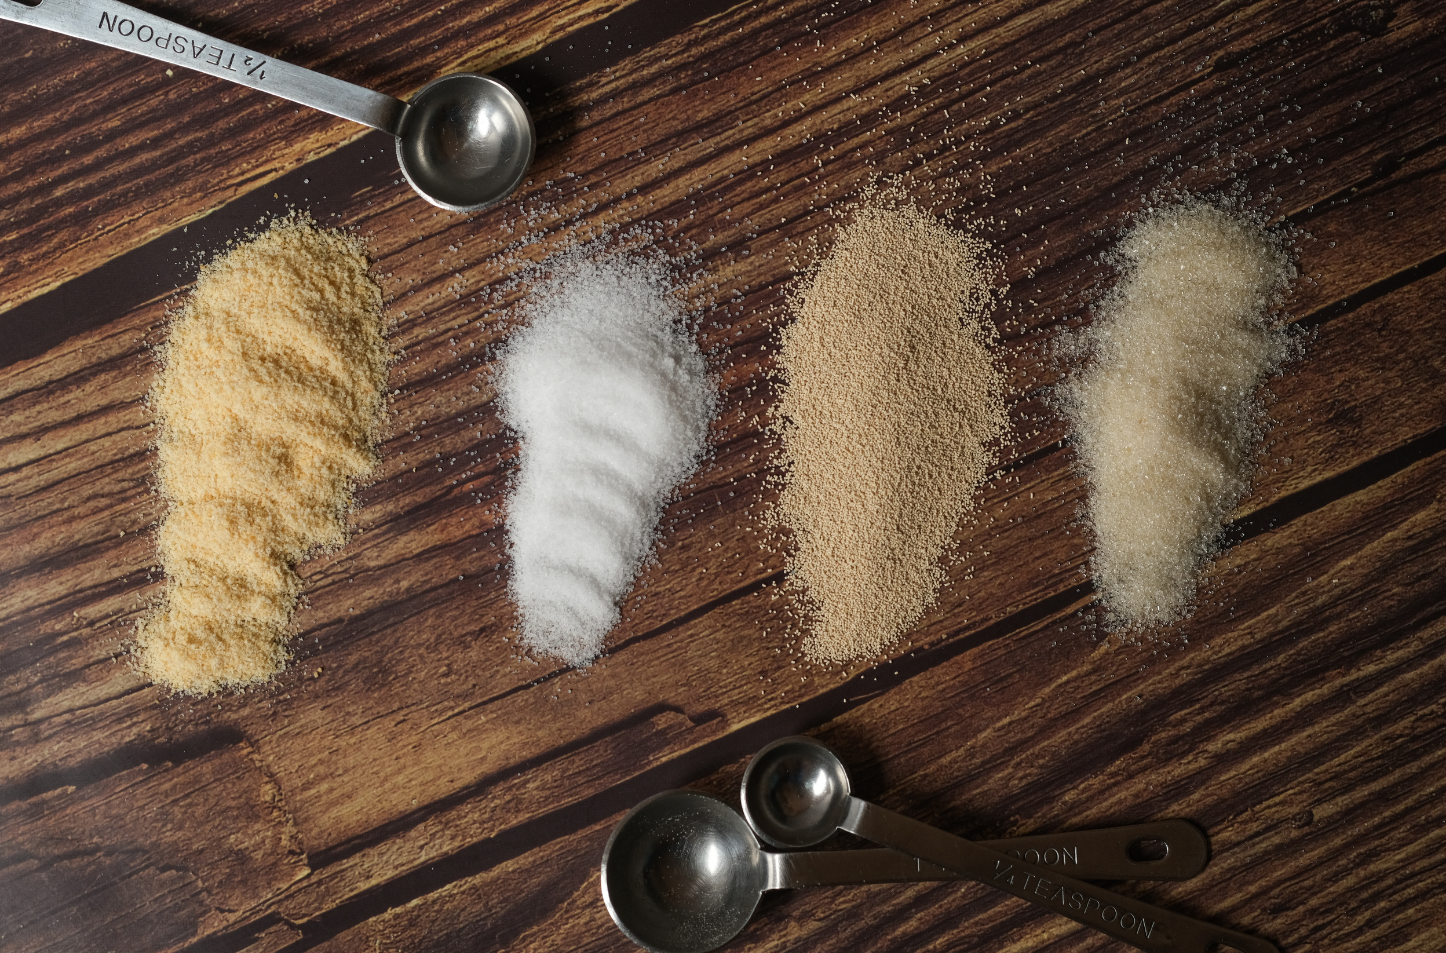
Use a Digital Kitchen Scale
As we mentioned in our Baking 101: Cakes, baking is a science. You have to be exact with your measurements, especially when it comes to yeast. Small differences to your measurements will make a big difference to your loaf. Our Digital Kitchen Scales have an aquatronic function so you can measure all of your ingredients with increased accuracy including the liquids, so there’s no need to create more washing up getting out the measuring jug. And the Salter Precision Digital Scale is perfect for measuring ingredients such as yeast or salt where you need very small amounts.

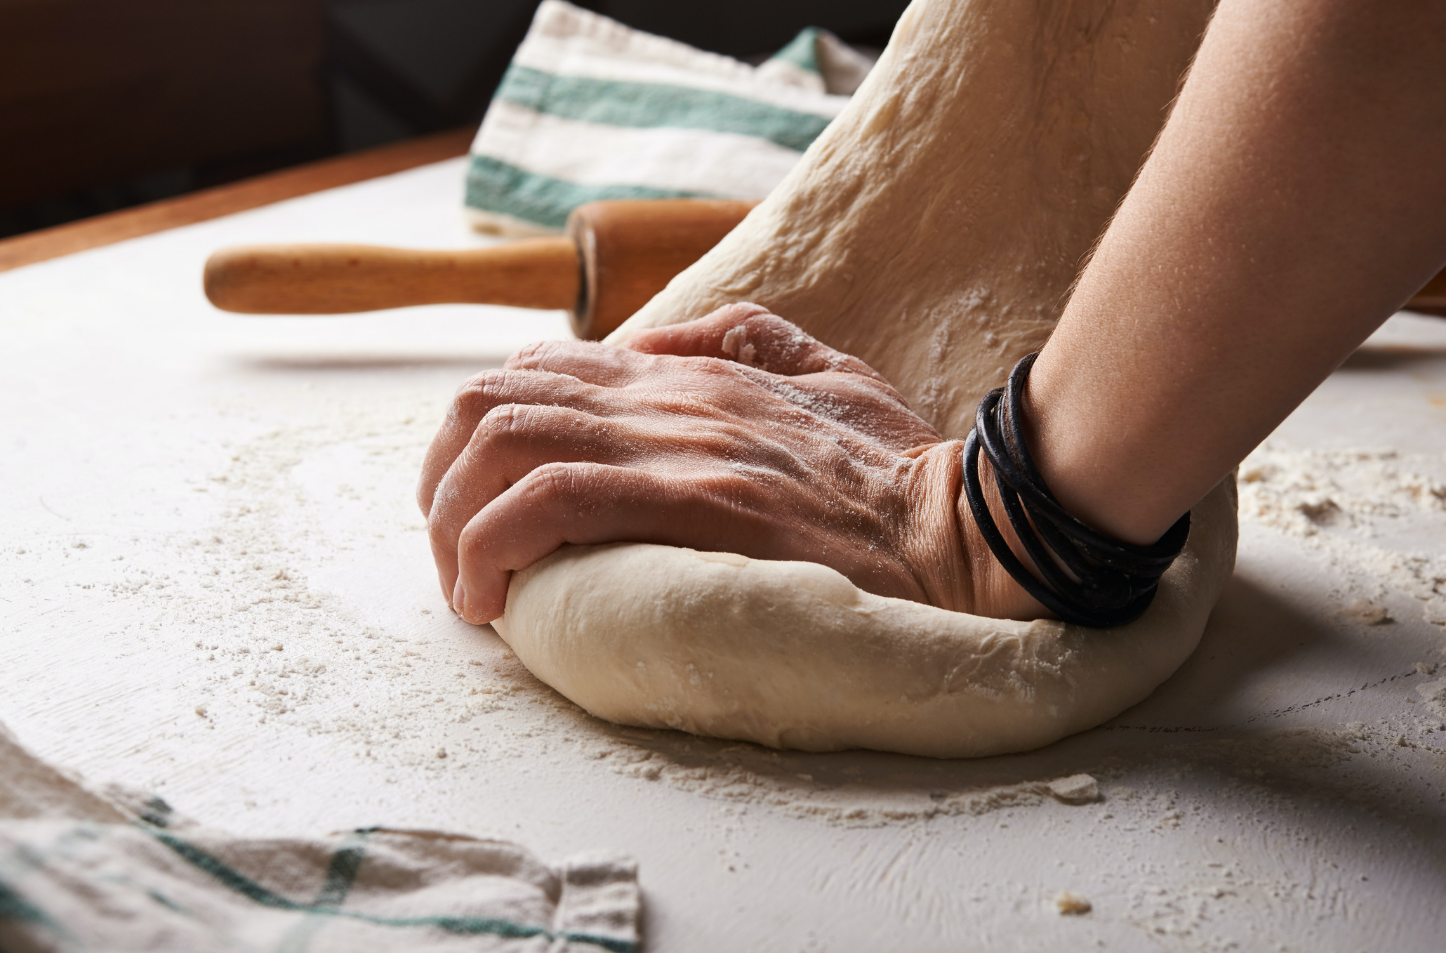
Don’t Over or Under-Knead your Dough
It may sound obvious, but this is a common mistake made by beginners. Kneading is what helps the gluten to develop, allowing your dough to stretch. Most recipes should give you an indication of how long you should knead the dough. If you’re kneading by hand, you will need to dust your work surface with flour, but it’s important not to use too much. The more flour you add, the tighter the dough will become.
Prove at Room Temperature
Rising times will vary according to the recipe and room temperature. You may have heard the old wives’ tale that putting bread in the airing cupboard will speed it up, but it will lead to a bland, flavourless loaf.
Whilst you might think leaving the dough for longer will give you a bigger loaf, but this isn’t how it works. After too long, the dough will sink as the carbon dioxide generated from the yeast will dissolve over time. Give your loaf a soft poke with your finger to check if it’s ready to bake, it should leave a small indentation before springing back very slowly.

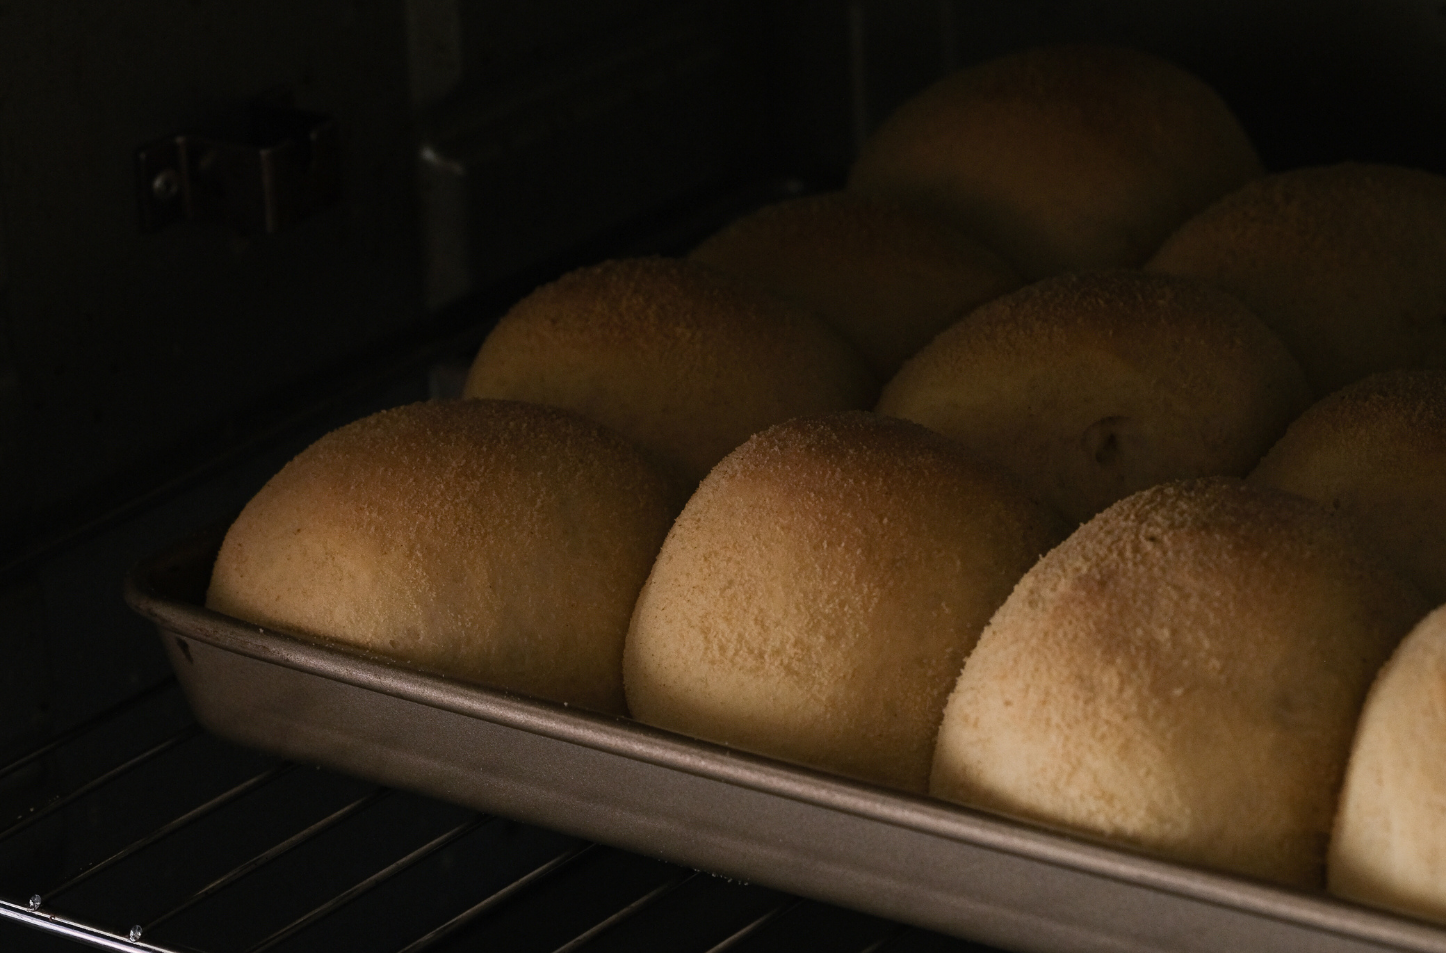
Keep an Eye on the Oven
We’ve mentioned this in other blog posts, but it’s a crucial step and worth repeating pre-heat your oven. Bread needs a surge of heat to guarantee it rises. One way to check the oven temperature is correct is by using a kitchen thermometer. Our Leave-In Kitchen thermometer has an extra-long prober for measuring both food and oven temperatures. It will come in handy for plenty of other things, such as making jam or caramel, as well as roasting and grilling. After the hours of labour you’ve put in before this point, you don’t want to leave it, regularly check your loaf. If it’s browning more on one side, don't be afraid to open the oven and rotate it.
Tap the Bottom
You probably already know this one, if you’re a Bake Off fan, you’ll have seen Paul Hollywood do this with every loaf. To check if your bread is completely baked, tap the bottom. If it sounds hollow, it’s ready.
Most Importantly, Practice Makes Perfect
We know this last one is a little bit cheesy, but it’s true! Any baking adventure requires patience and practice. Making a loaf of bread from scratch takes time. A bonus tip is to make your first loaf by hand, so you get a feel for the dough, its elasticity and if it’s too sticky or too dry.
Rushing and attempting to take shortcuts will only result in a disappointing loaf. Whilst there isn't much hands-on time with bread, you need to consider the other more time-consuming steps.
Have you been inspired by Bread Week, share a picture of your loaves with us on Instagram using the #SharewithSalter
Take a look at our Bake at Home Range for your cake making essentials.
Continue Reading
Did you enjoy this blog post? Here are some related posts
Salter Baking guides
Baking 101: How to Bake Beautiful Biscuits
Baking 101: Tips for Baking the Perfect Cake
Baking 101: Tips for Brilliant Bread
Baking 101: Basic Baking Tips from Salter
Salter Tips for Creating Perfect Birthday Cakes
Salter Kitchen Scales Explained
How a Kitchen Scale Can Help You Keep Healthy
Why You Should Use Kitchen Scales Instead of Cups