
Baking 101/ Tips for Baking the Perfect Cake
Posted by Team Salter on 19th Jun 2024
Tips For Baking the Perfect Cake
Here at Salter, we are HUGE fans of baking, which is why we love September as it means the Great British Bake Off is back on our screens. It certainly brightens our Tuesday evening and gives us the perfect excuse to create some delicious treats to enjoy. If you’ve been inspired by the show to start baking, we’ll be sharing some tips to help you make your very own showstoppers.
There’s a reason baking is referred to as a science. There are some simple do’s and don’ts which you need to be aware of before you begin. Hopefully, with our help, your next cake will be baked to perfection.
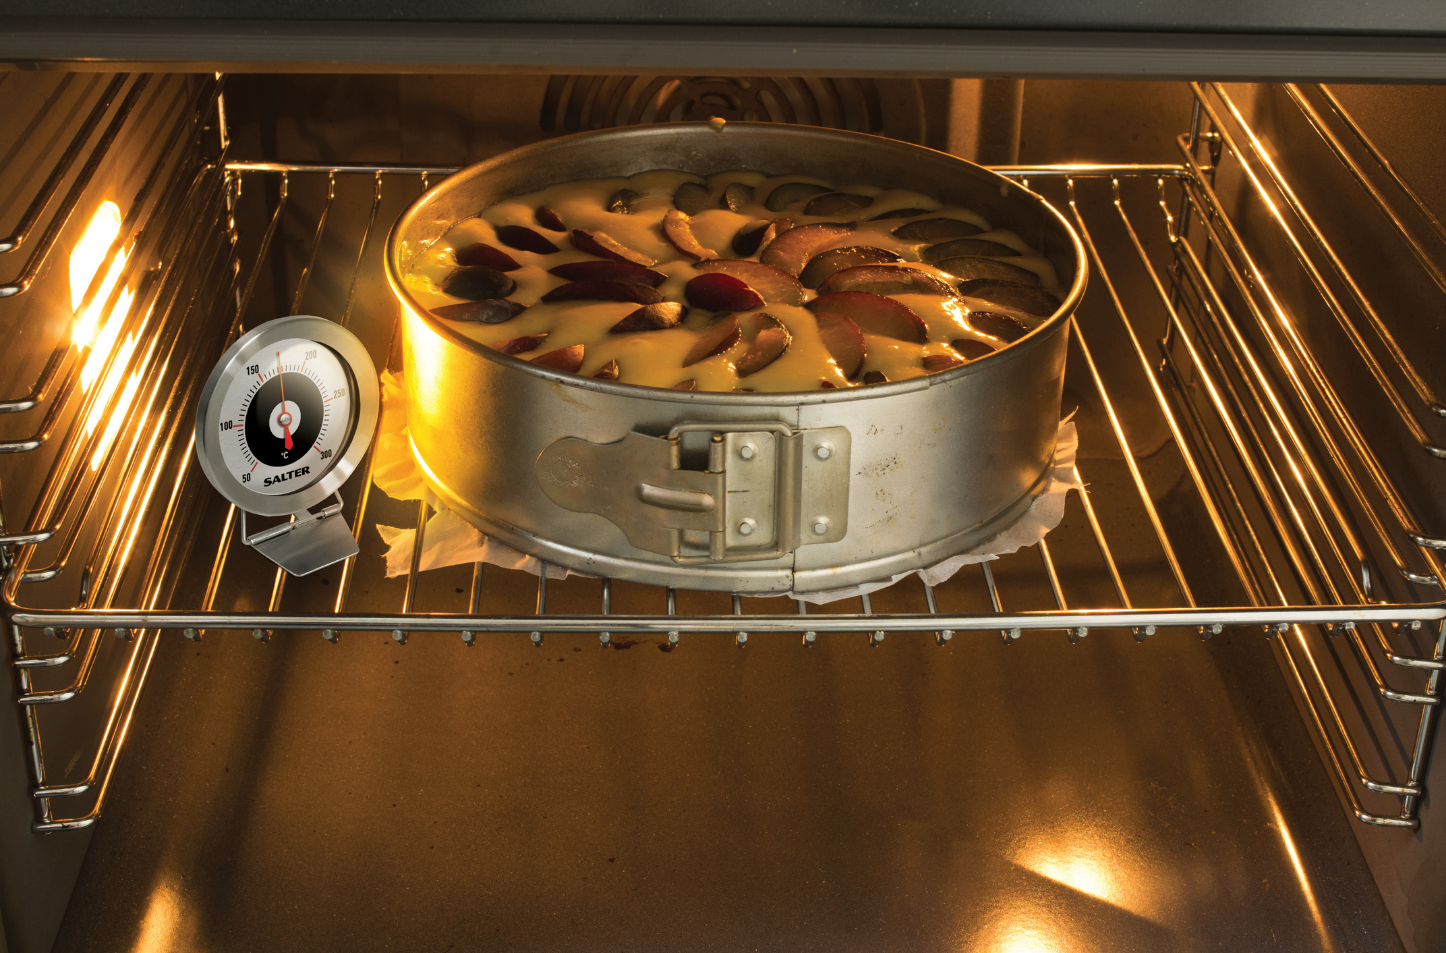
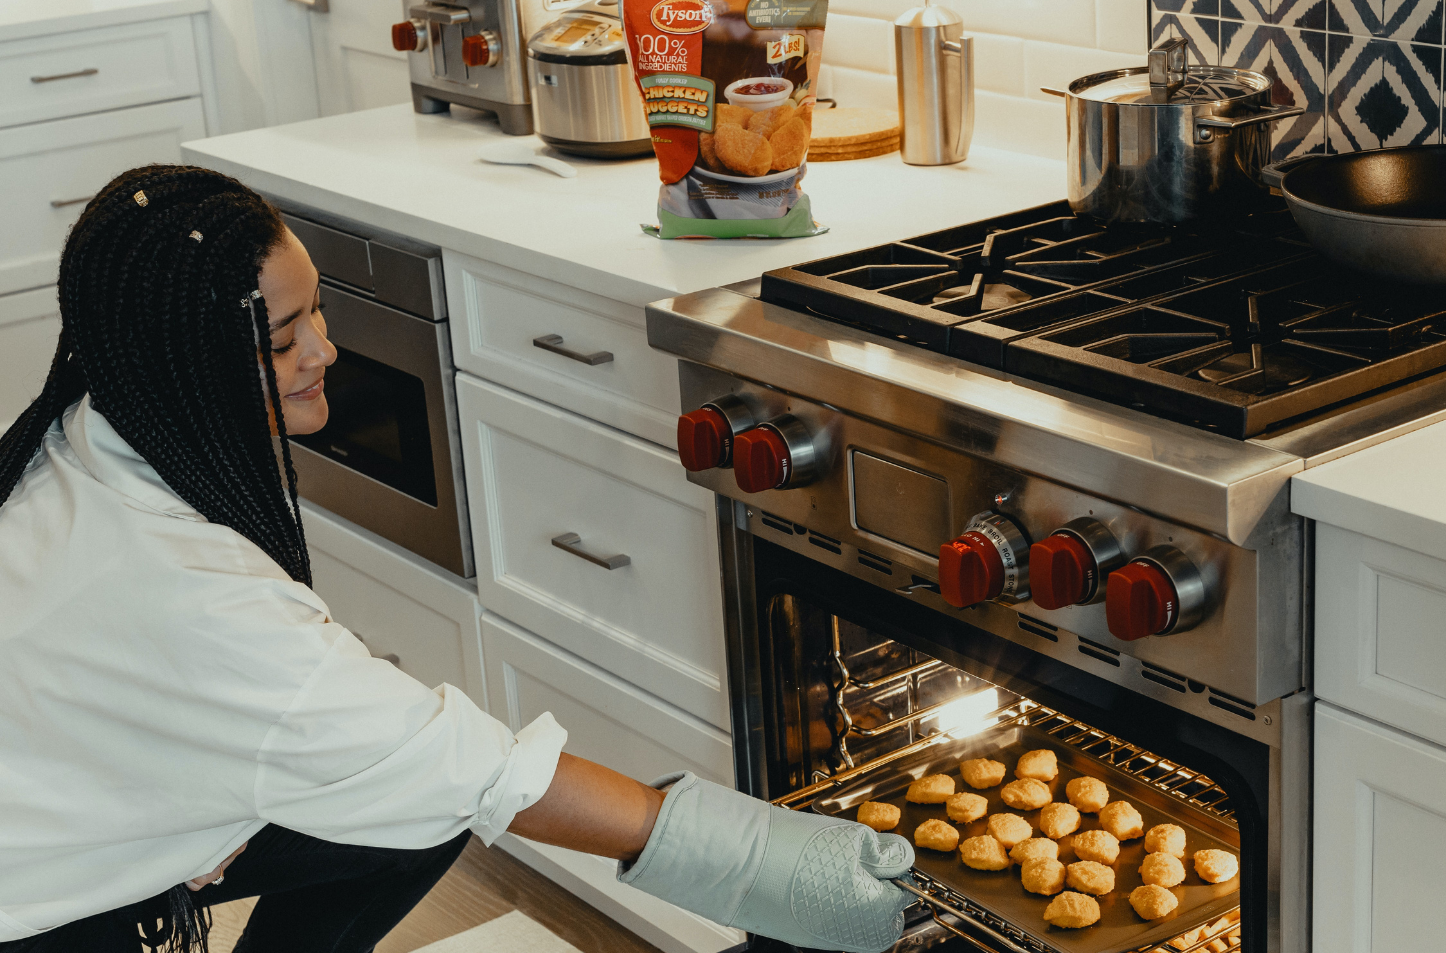
Do: Pre-heat the Oven
There’s a reason this simple step is at the start of every recipe. Preheating your oven and ensuring it reaches the correct temperature before you put anything in is the most important thing you can do. If your cake isn’t put into an oven that is hot enough, it will affect the way it rises, and you’ll risk removing a cake that is still wet in the middle when your timer goes off.
A thermometer will accurately provide you with the temperature of your oven, helping to eliminate the risk of undercooked cakes or flat sponges.
Don’t: Adjust the Recipe Unless You’re Really Experienced
If you want a tasty cake that is also perfectly light and fluffy, it's important to follow the recipe to the letter. Pick a recipe from a reliable source that has been tried and tested. We love BBC Good Food, Olive and Delicious Magazine (just to name a few places to start your search). Changing the recipe or missing a step could alter the taste or texture of your cake and just end in a lot of mess.
Don't forget, you can save recipes from all of these sites using the Salter Cook App.
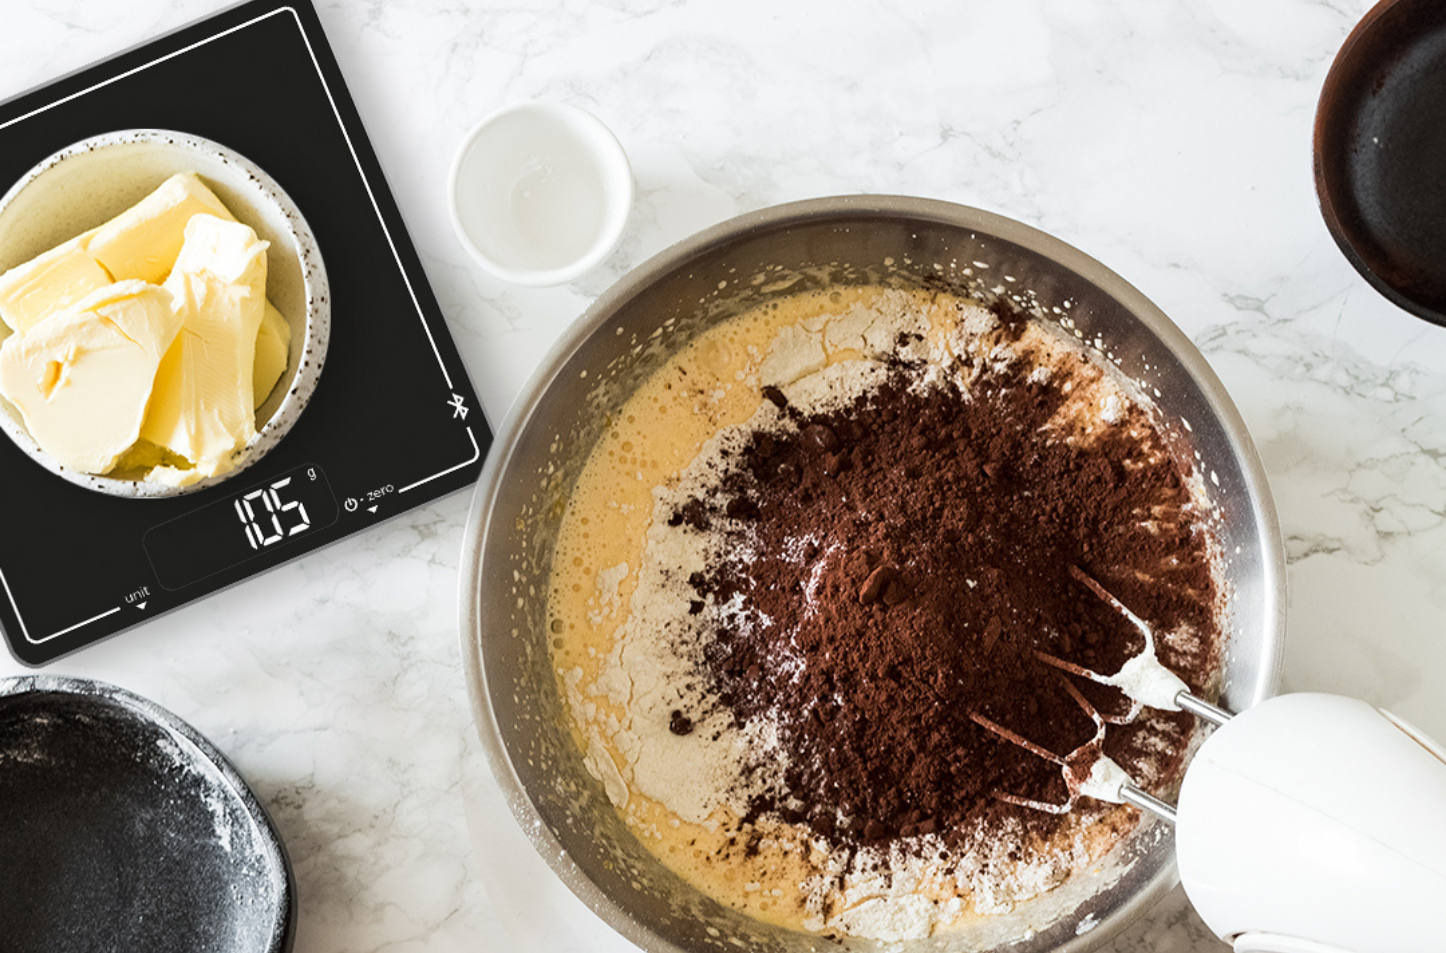
Do: Measure Your Ingredients Properly
You may see a lot of recipes online which use cup measurements. However, kitchen scales provide far more accurate measurements, especially when it comes to dry ingredients such as flour. Using too much or too little could dramatically affect the taste and texture of your cake.
For accuracy and precision, a digital kitchen scale is best. Our digital kitchen scales have the handy add and weigh function, which allows you to weigh multiple ingredients in the same bowl. Not only does this make things easier when weighing out the ingredients, but it will also help reduce the amount of washing up, which is an added bonus!
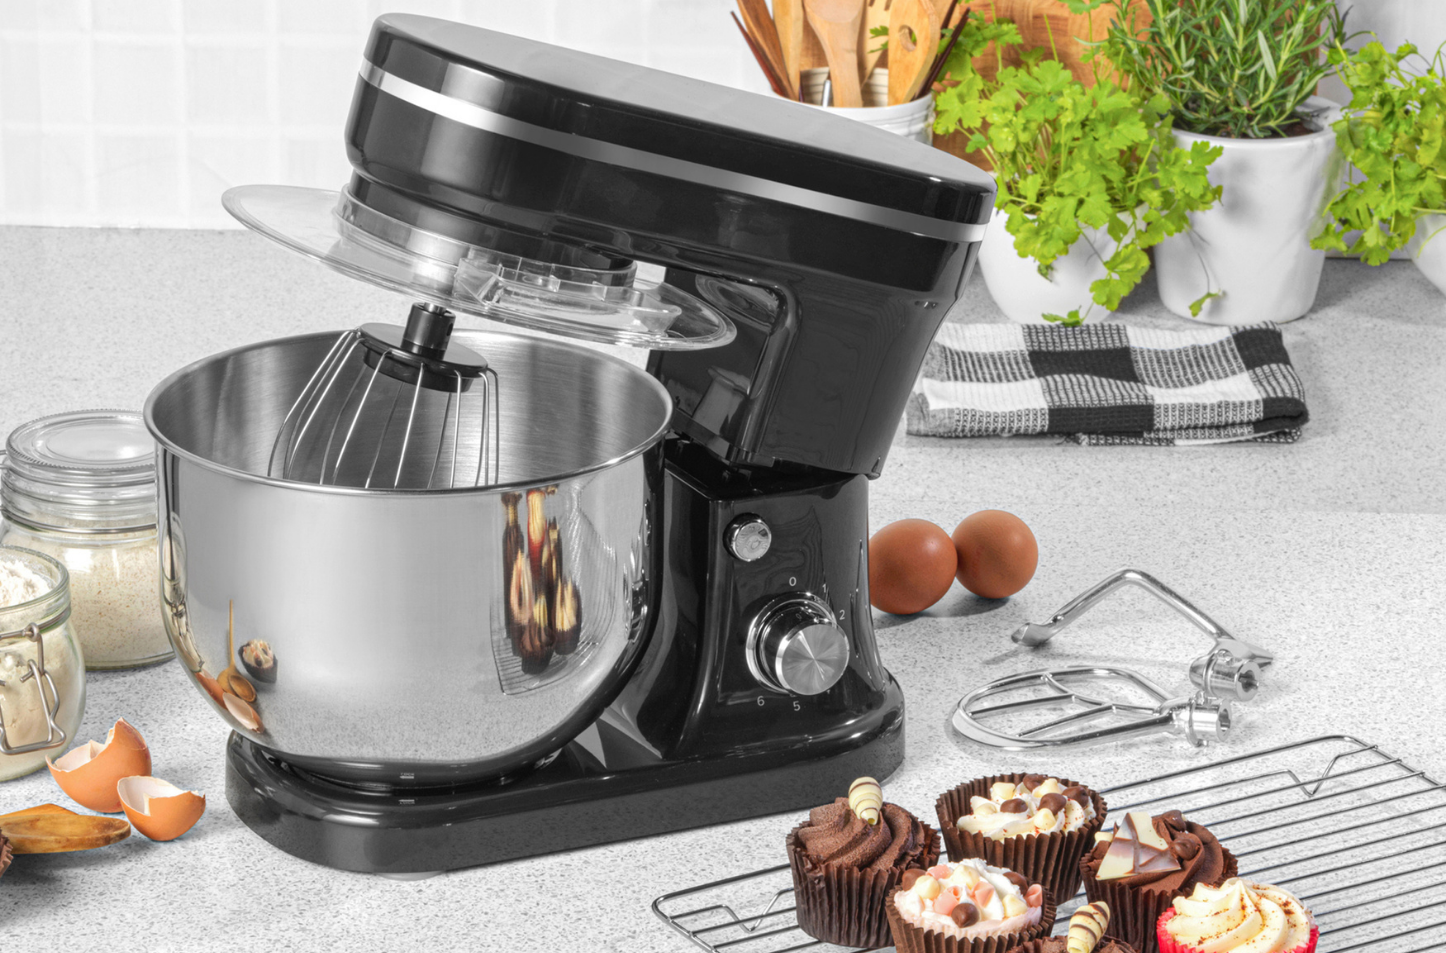
Don’t: Over or Under-Mix
This is easier said than done, as we know it can be easy to get carried away when mixing, but all you need to do is simply combine the ingredients. Over-mixing will and leave your cake with a tough texture.
If you’re using a stand mixer, don’t just turn this on and leave the room or start another task. Whilst they make the job easier, you still need to keep a close eye on it.
Don’t under-mix either. No one wants to find a lump of flour or butter in the middle of a slice of cake.
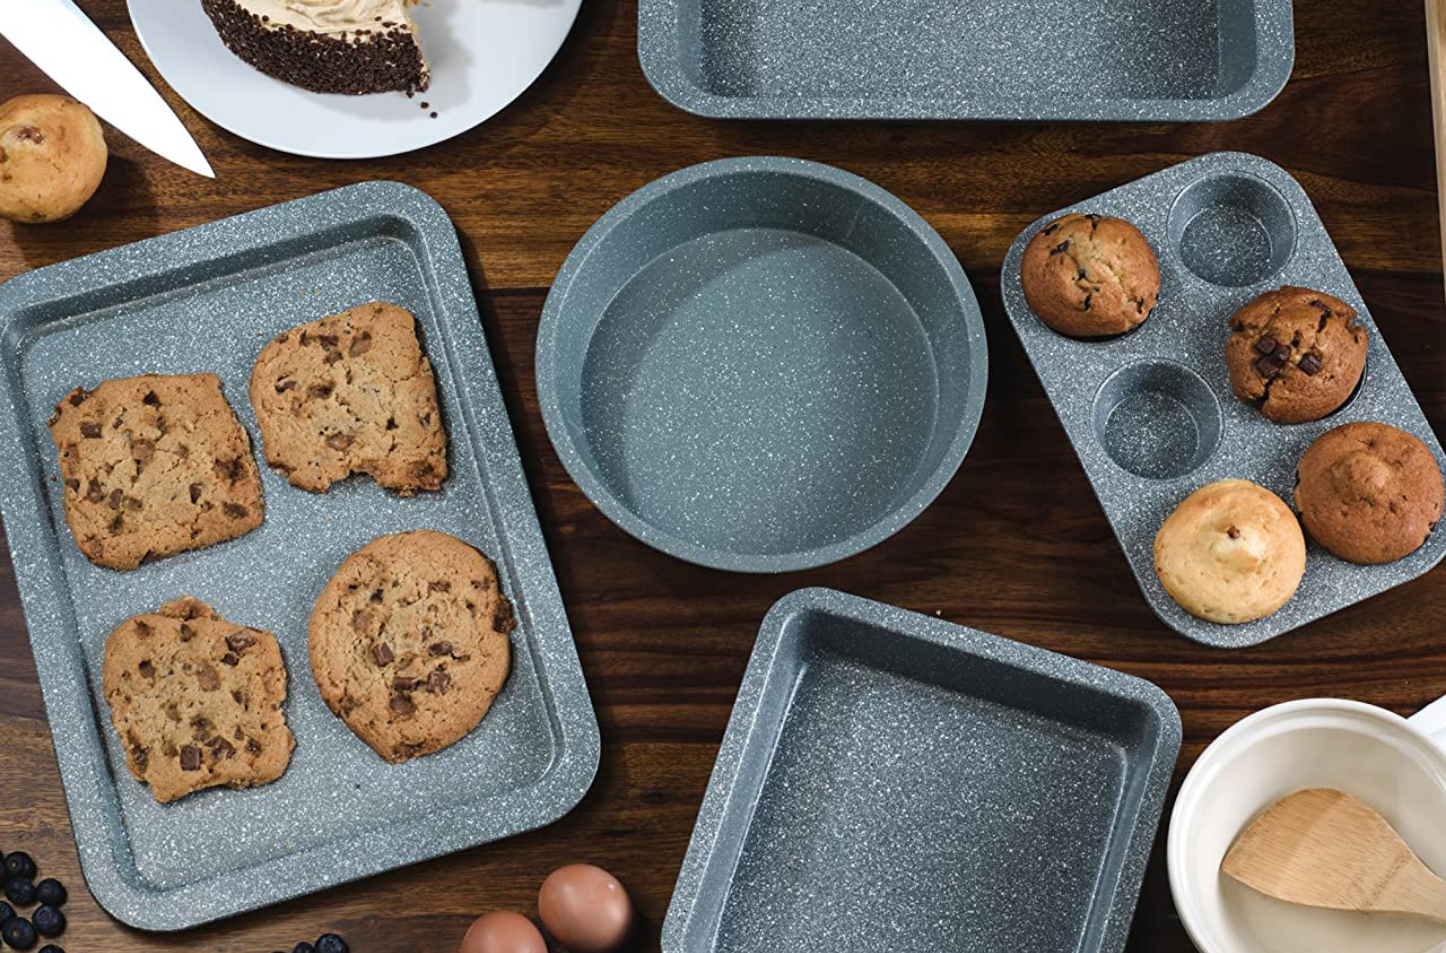
Do: Prepare Your Pans
The first step to preparing your pans is making sure you are using the same size as stated in the recipe. If you are using a larger or smaller pan, you will have to adjust the oven temperature. Secondly, make sure to line your pans to ensure your cake doesn’t get stuck. You can use parchment paper, or if you're looking to reduce waste in the kitchen, you can buy reusable options to fit your pans.
You can always use softened butter dusted with flour or oil dusted with flour instead. Just don’t go too mad when using fat to grease your pan, as you’ll run the risk of burning the edges.
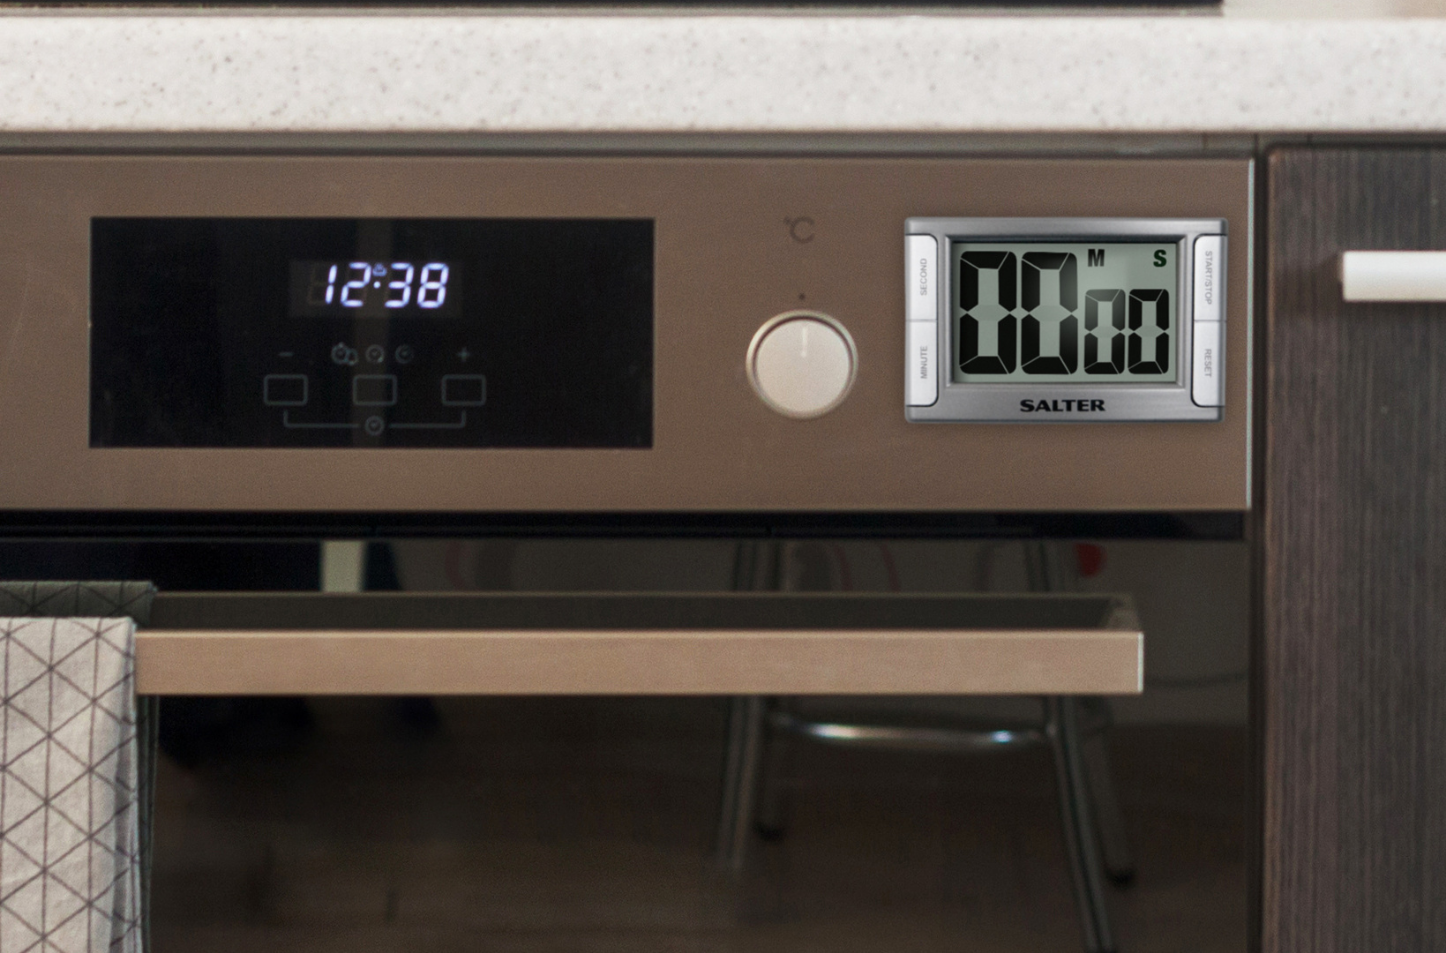
Don’t: Forget to Set a Timer
It’s easy to get distracted and forget exactly when you put the cake in the oven. As soon as you’ve placed your cake in the oven, make sure to start the countdown, following the time stated recipe.
Whilst most people use their phones, using a kitchen timer will save your screen from the risk of being covered in flour and batter.
Do: A Simple Test Before Removing Your Cake From the Oven
All ovens vary, so it's important to keep an eye on your cake and do a quick test before removing it from the oven completely. The first simple test is to insert a skewer into your cake. If it comes out clean, it’s time to take it out.
If you don’t have a skewer or toothpicks handy, you can do the bounce-back test. Remove the cake from the oven to avoid burning yourself, and gently press down on the cake. If the cake bounces back, it’s ready! If your finger leaves a dent in the cake, it needs more time.
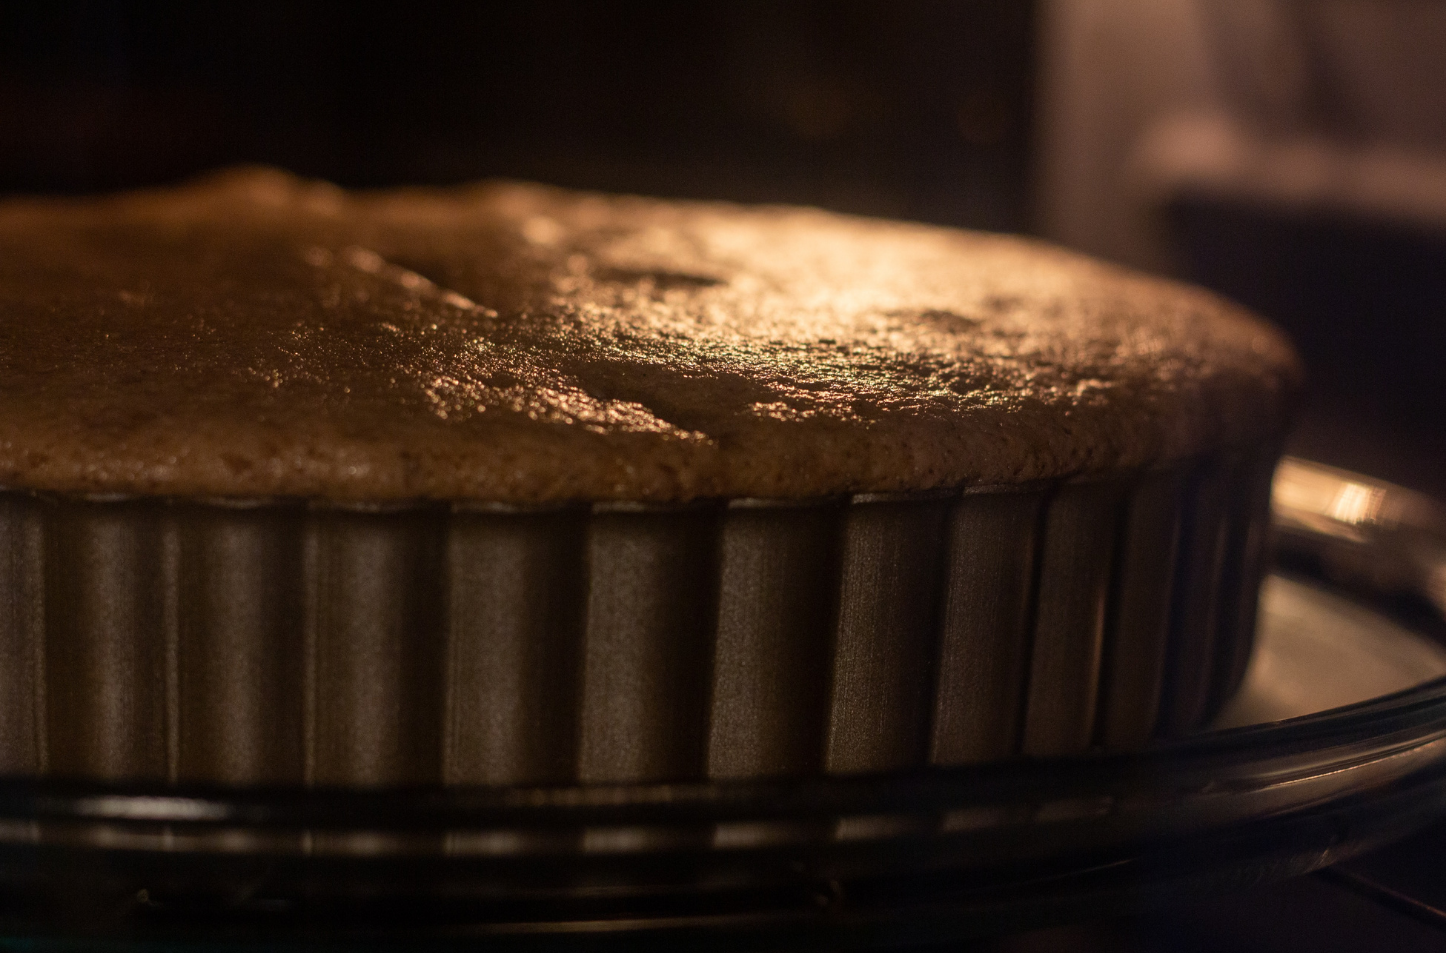
Don’t: Be Tempted to Open the Oven too Often
It’s tempting to open the oven door to give your cake a quick check but trust us, it’s not a good idea. There’s a reason the stars of the bake-off tent sit patiently staring through the oven door. As we’ve mentioned, the oven temperature is important, which is why you need to pre-heat. Opening the door too frequently will cause the temperature to fluctuate and ultimately become a lot cooler. Colder air will prevent your cake from rising, so unless you want a flat sponge, it’s best to avoid opening the door until it's done.
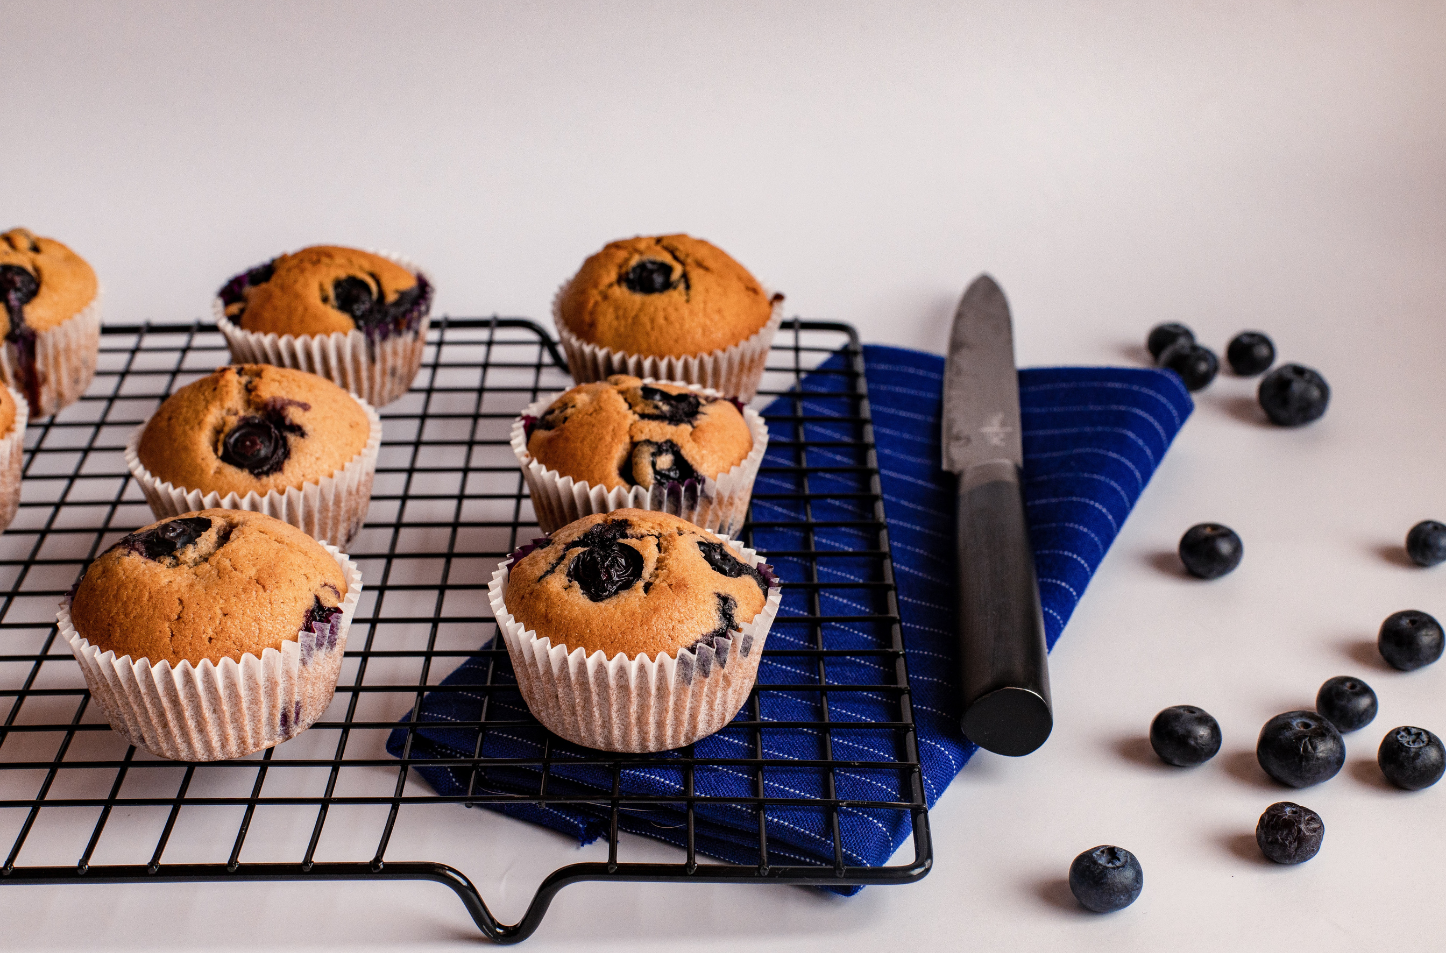
Do: Leave Your Cake to Cool Completely Before Icing
Most recipes will give you instructions for how long to leave your cake in the pan and how long to cool it for. Generally, most sponge cakes should be left in the tin for a few minutes before being turned onto the cooling rack. Just make sure to do this gently.
If you want a beautiful showstopper instead of a sloppy mess, it’s best to apply the icing to your cake when it is completely cool. You’ll have plenty of time whilst the cake is cooling to make your icing and load up your piping bags if you are using them.
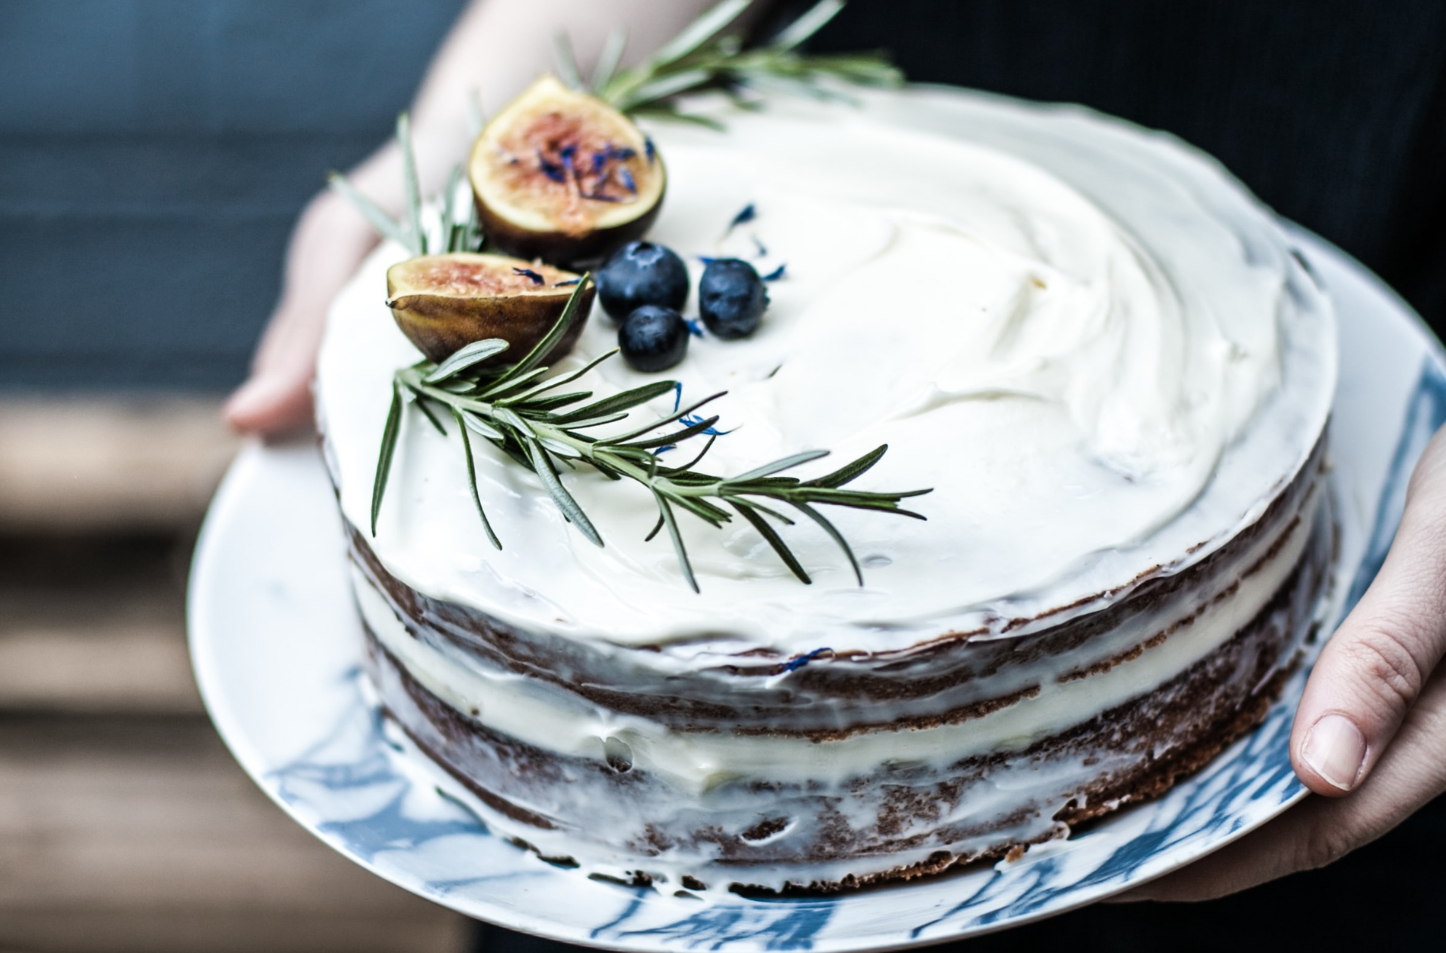
Don’t: Be Afraid to Keep It Simple
We are big fans of impressive showstoppers, as seen on the Great British Bake Off. However, not every cake has to be a sculpted anti-gravity masterpiece covered with fondant icing. There’s a reason the humble Victoria Sponge is continually listed as the nation’s favourite year after year.
If you’re short on time, a naked-style cake is a great option. Naked Cakes simply have a thin coating of buttercream, which involves minimal effort, looks good and most importantly, is delicious.
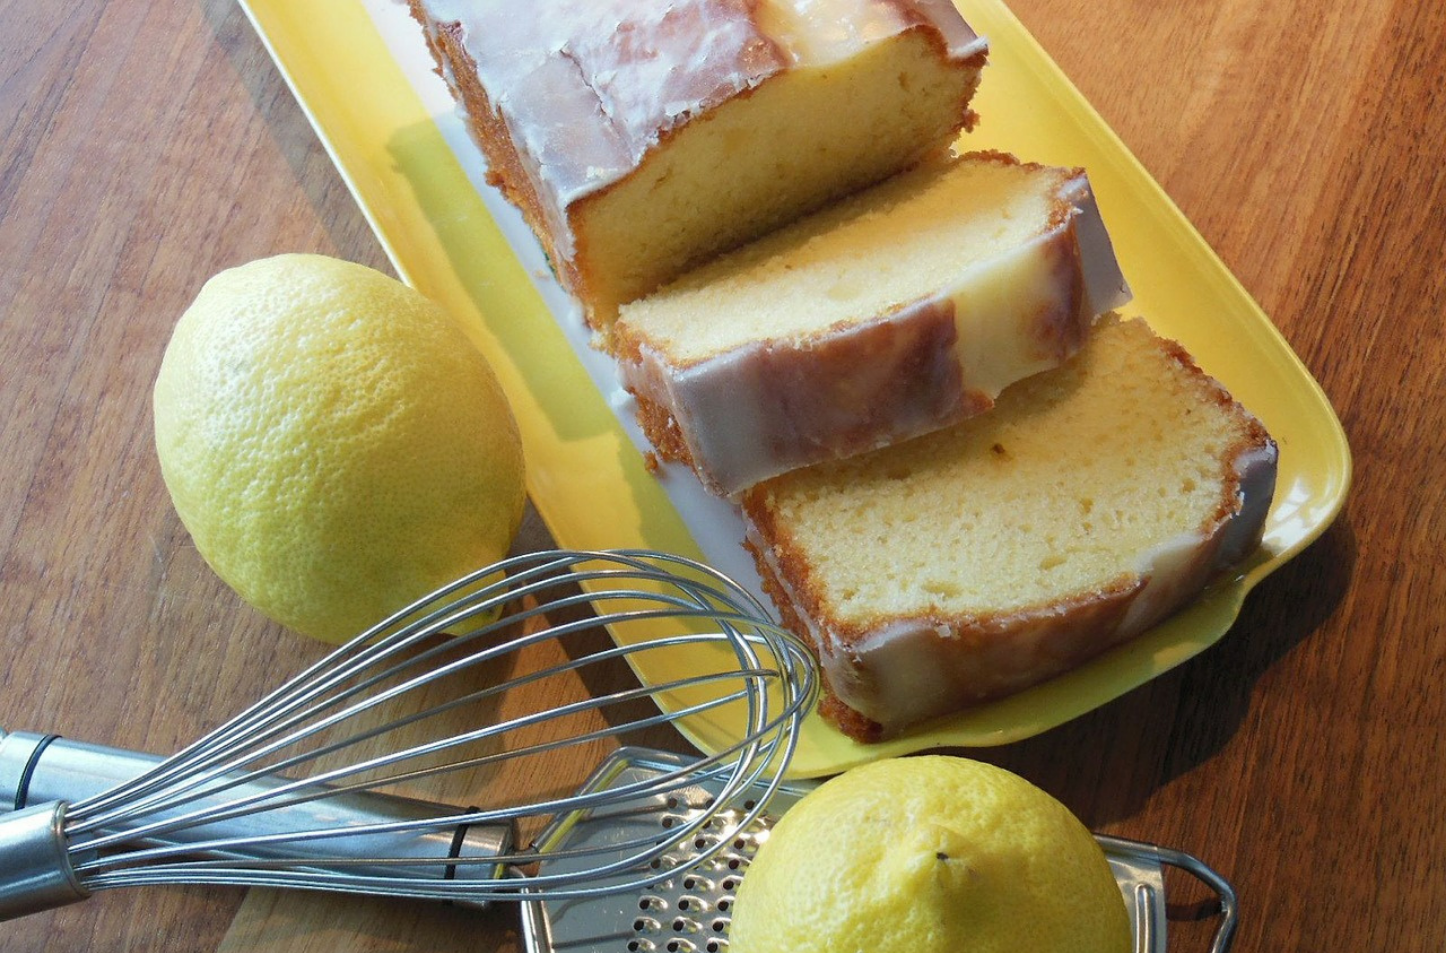
Feeling inspired? Why not try our recipe for a classic Lemon Drizzle!
Ingredients
225g unsalted butter
225g caster sugar
225g self-raising flour
4 eggs
For the drizzle:
Juice of 1 ½ lemons
85g caster sugar
Method
1) Pre-heat the oven to 180 / Fan 160 / Gas Mark 4.
2) Beat together the butter and sugar until pale and creamy.
3) Add the eggs one at a time, slowly mixing.
4) Sift the flour before adding the lemon zest and mix until well combines.
5) Line a loaf tin (27 x 14 x 7 cm) with greaseproof paper, then spoon in the mixture and level the top with a spoon.
6) Bake for approximately 45-50 minutes until a thin skewer inserted in the centre of the cake comes out clean.
7) Whilst the cake is cooling in its tin, mix together lemon juice and sugar to make the drizzle.
8) Prick the arm cake all over with a skewer or fork, and then pour over the drizzle.
9) The juice will sink in and the sugar will form a sweet crisp topping.
10) Leave the cake in the tin, then remove and serve.
The drizzle cake will keep in an airtight container for 3-4 days or can be frozen for up to 1 month.
If you bake it, share a picture with us on Instagram using the #SharewithSalter
Take a look at our Bake at Home Range for your cake making essentials.
Continue Reading
Did you enjoy this blog post? Here are some related posts
Salter Baking guides
Baking 101: How to Bake Beautiful Biscuits
Baking 101: Tips for Baking the Perfect Cake
Baking 101: Tips for Brilliant Bread
Baking 101: Basic Baking Tips from Salter
Salter Tips for Creating Perfect Birthday Cakes
Salter Kitchen Scales Explained
How a Kitchen Scale Can Help You Keep Healthy
Why You Should Use Kitchen Scales Instead of Cups